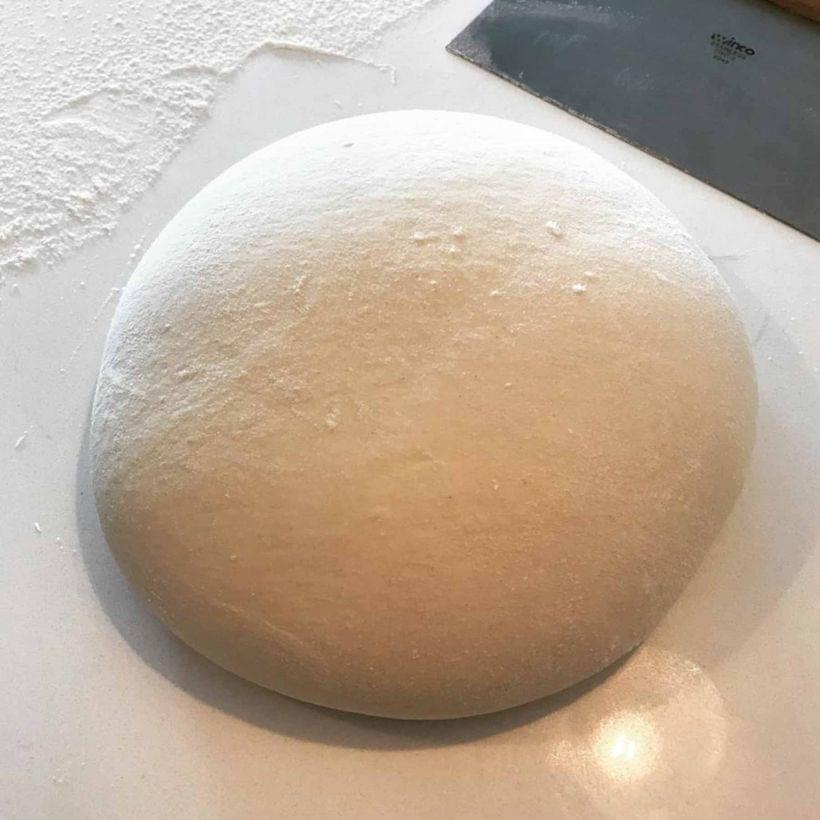
Pizza Dough

Here at Wilto Makes Food Headquarters, we hold some pizza truths to be self-evident.
While not as good as good pizza, bad pizza is still pretty good. Pineapple is a viable—indeed, a desirable—topping. The “PIZZA TIME” pause music from Teenage Mutant Ninja Turtles II: Back to the Sewers was a certified banger. On these points—these incontrovertible truths—we can all surely agree.
Pizza time can, as we all know, strike without warning—it pays to be prepared. Throw this dough together, leave it in the fridge overnight, then chuck it into your freezer until such time as the urge for pizza strikes you. Be sure to give it enough time to thaw to room temperature first, plus a little time for the yeast to come out of dormancy and do its collective thing. You won’t get much of a rise at that point, but y’know, we’re not making deep-dish here. I make a fresh batch every couple times I feed my sourdough starter and store it gallon freezer bag. A few hours before dinner, I grab it from the freezer, set it in a bowl of warm (not hot) water, and thaw—a quick shape and a little more rise time, and I’m good to go.
The Baking
Now, either way, I’d rather be making my pizzas in a screaming hot brick oven—one of those “three minutes total” deals—but I have an apartment and it has fire codes, presumably, so here I am with my no-name pizza stone. It takes a little longer, and—just like using a wok on a wimpy home-oven burner—it means working in stages.
Set the stone on a high rack—a couple inches below the broiler. Crank your oven up as high as it will go (usually 500–550 f), and allow it to preheat well beyond the point where the oven sounds the “done preheating” chime. One, it’s lying to you, and two, it takes a lot longer for the stone to come up to heat. In fact, here’s a tip: I always leave my pizza stone in the oven, whether or not I’m actively using it, because it’s one more surface to help maintain consistent heat in there. Dust off any flour or cornmeal that might still be on it; in a maxed-out oven, it’s gonna get hot enough to burn.
Generously dust a peel (or the underside of a sheet pan) with flour and/or cornmeal and shape the dough on it. The longer it sits there, the more likely it’ll stick, so move quickly. I like to brush the top of the crust with a little olive oil (it soaks in as it bakes), then pull the rack out and shimmy the dough on your stone. If you’re like me, fuss with the shape and almost definitely manage to burn your fingertips in the process.
Leave it in there until it just starts to brown, then pull it out and add your toppings. I switch over to the broiler on high at this point—between the broiler above and the superheated pizza stone below, you’ve got yourself a makeshift pizza oven. Be sure to give it a quarter-turn every few minutes, though, to make sure your pineapple browns evenly.
Ingredients
-
420 G. “00” Flour
-
100 G. Sourdough starter castoff
-
11/2 tsp. Kosher salt
-
1 tsp. Instant yeast
-
1 tsp. Granulated sugar
-
2 Tbsp. Olive oil
-
1 C. Water, between 90 and 100 degrees (f)
Instructions
In a large mixing bowl (or the bowl of a stand mixer) combine all the ingredients except the water.
Add up to 1 C. water in a slow trickle until the dough comes together in a shaggy ball.
Hand-knead for ten minutes or so. If using a stand mixer, switch to the dough hook and knead at low-medium speed for seven minutes. Either way, keep going until the dough passes the windowpane test.
Shape into a ball and place in a clean, lightly oiled bowl. Cover, and let sit at room temperature for half an hour.
Place in refrigerator overnight, making sure the dough has room to expand. If you’re storing it longer term, move it to the freezer the following day.
When ready to bake, shape into a ball on a floured surface, dust with flour, cover loosely, and allow it to come to room temperature before shaping.